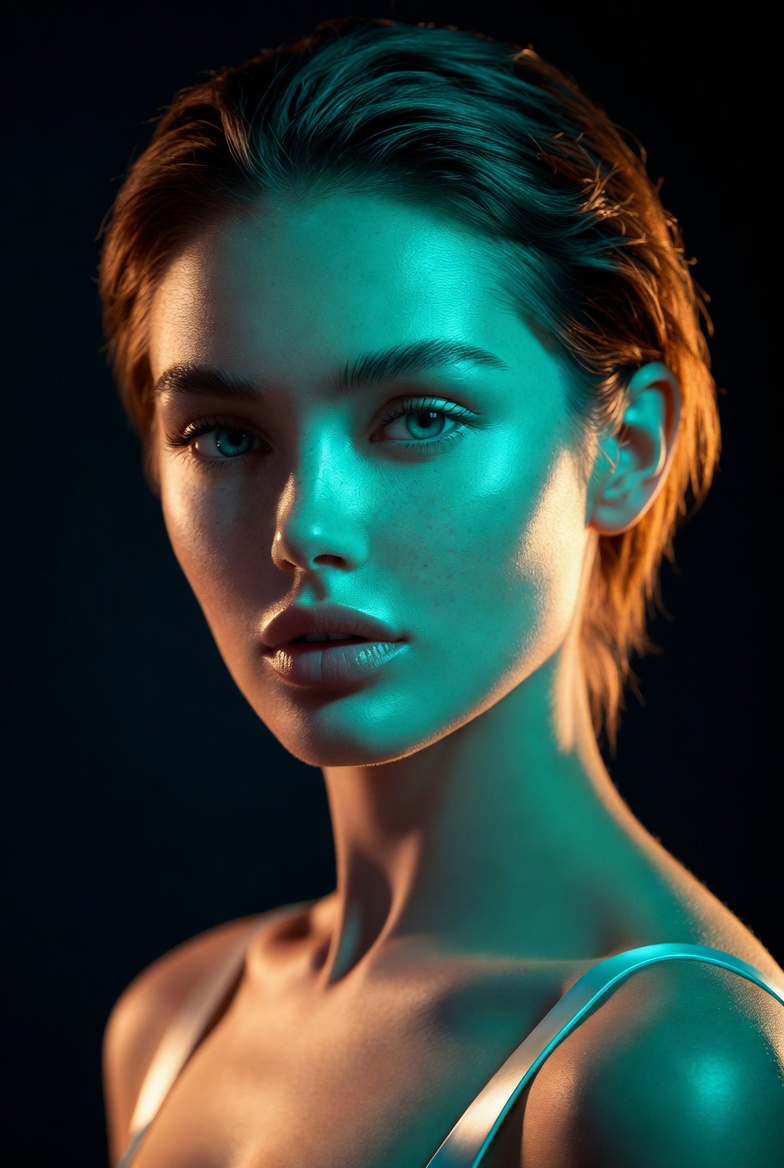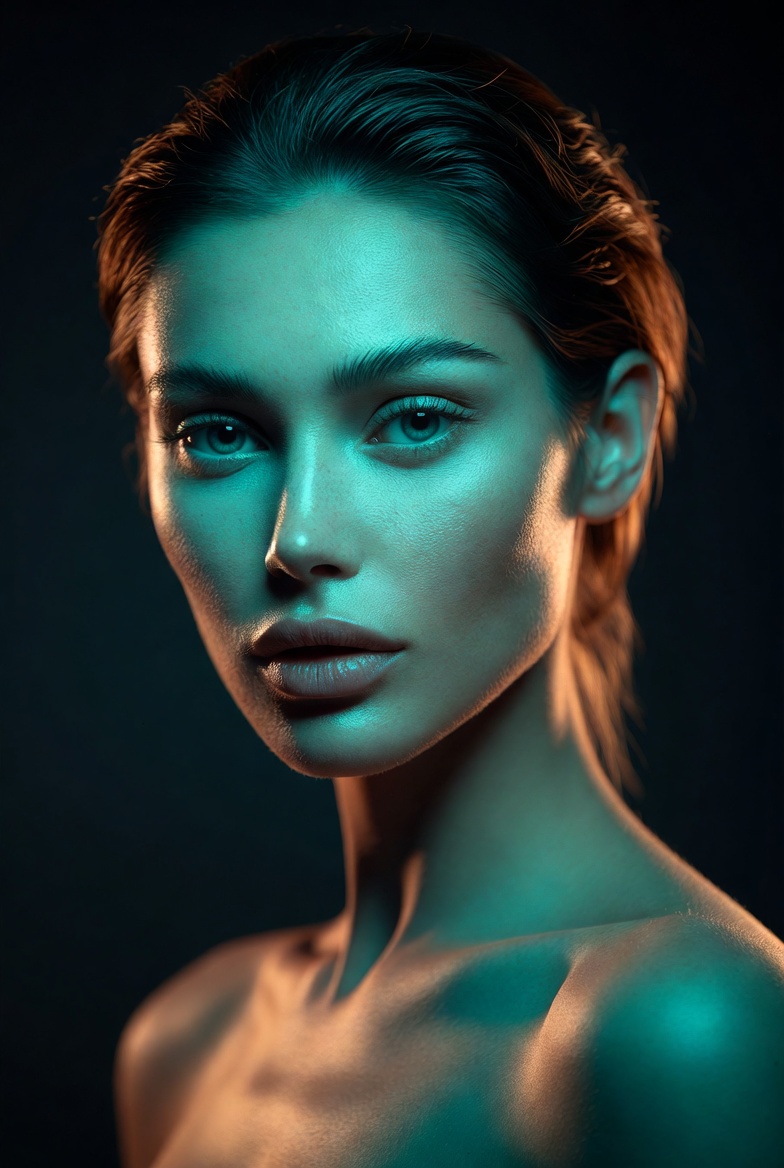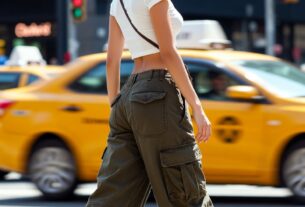
Gel lighting is a fast track to cinematic color without needing neon signs, city streets, or complicated environments. By placing colored gels over lights in a controlled studio setup, you can create bold contrast while keeping the portrait clean, professional, and highly photorealistic. This page focuses on a beautiful young adult woman (21+) with a confident modern presence, styled in a sleek, minimalist outfit that lets color and light do the storytelling. The result should feel like a premium editorial shoot: crisp facial detail, realistic skin texture, and color that looks intentional rather than chaotic.
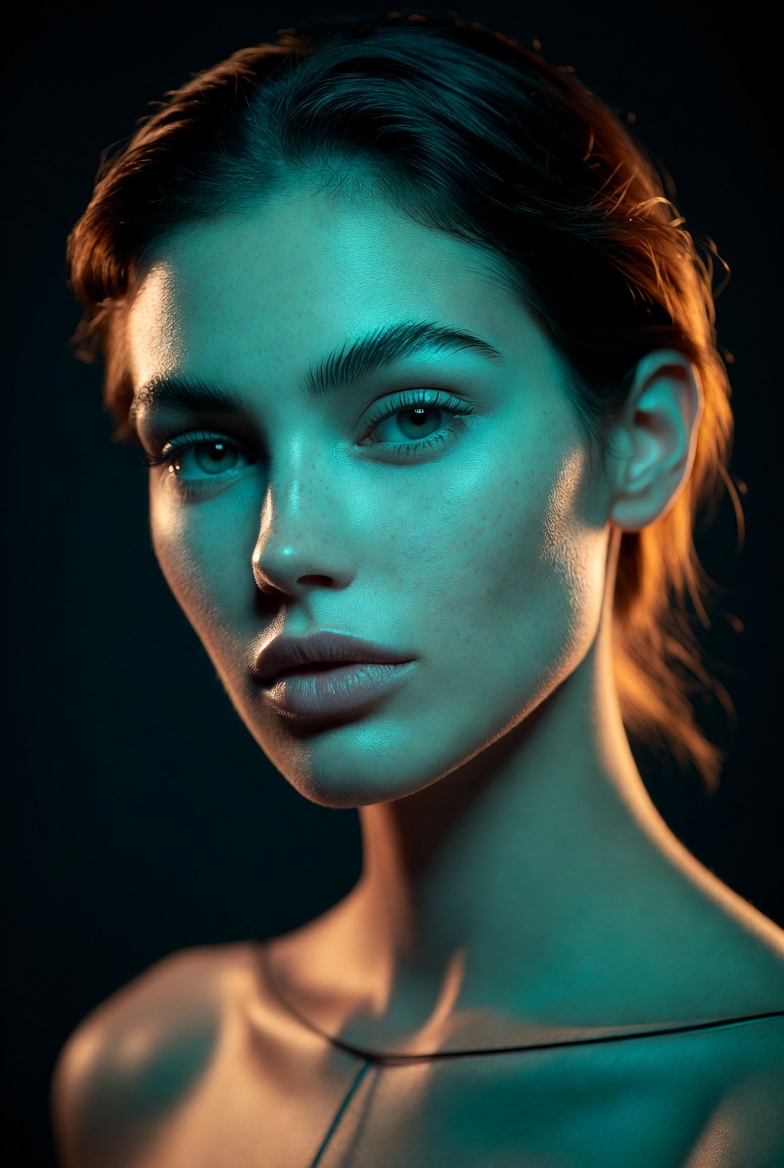
AI models often “overdo” color unless you guide them carefully. That’s why this prompt uses a dark slate seamless backdrop and a simple wardrobe both reduce visual noise and make the colored lighting read as deliberate. A teal key light from one side creates cool sculpting across the face, while a warm amber rim light from behind adds separation and a high-end cinematic edge. The most important supporting detail is soft fill light: it prevents the teal from swallowing facial features and keeps the eyes bright and alive. When you combine these elements with lens cues (an 85mm look and shallow depth of field), the image starts to resemble a real studio portrait captured by an experienced photographer, not a stylized render.
This style is useful for modern branding, music-inspired editorials (without text), character concept art that still looks photographic, and social visuals that need strong color identity. It’s also highly customizable: swap the gel colors, change the background tone, or adjust wardrobe while preserving the same lighting logic. If you want consistent results across Midjourney v6, SDXL, and Flux, gel lighting prompts are a dependable way to get cinematic flair with studio control.
The AI Prompt
Why This Prompt Works
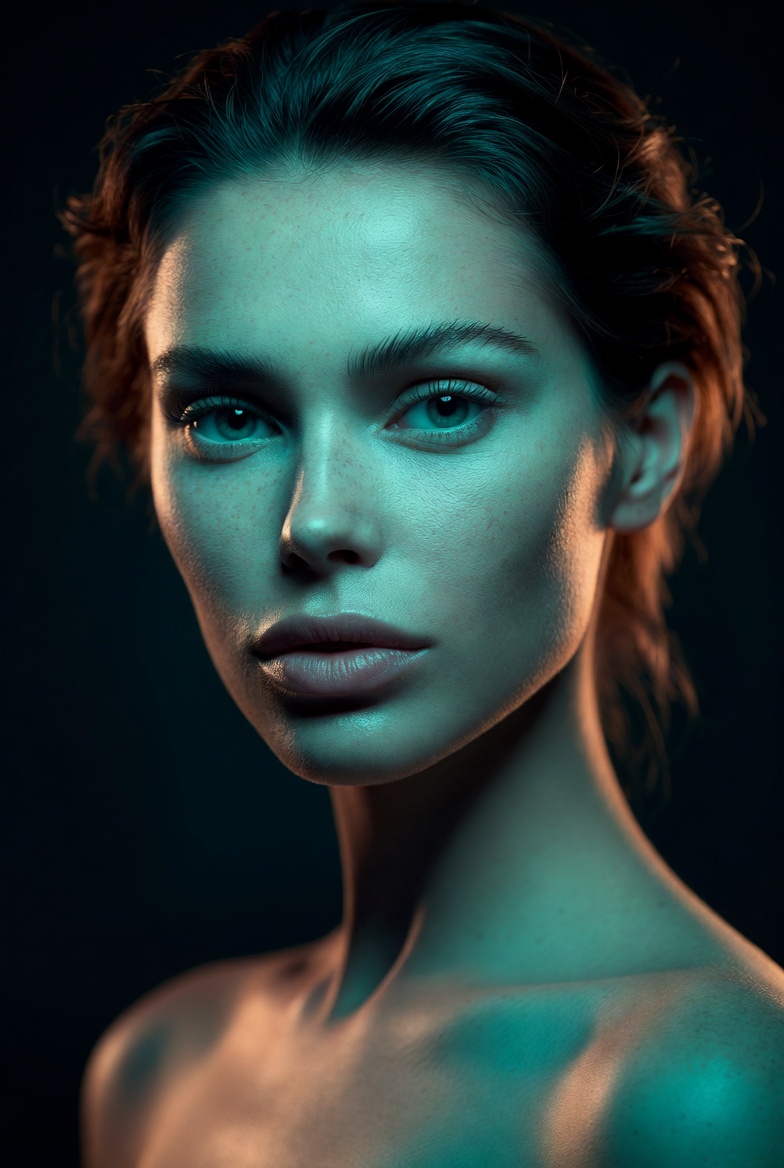
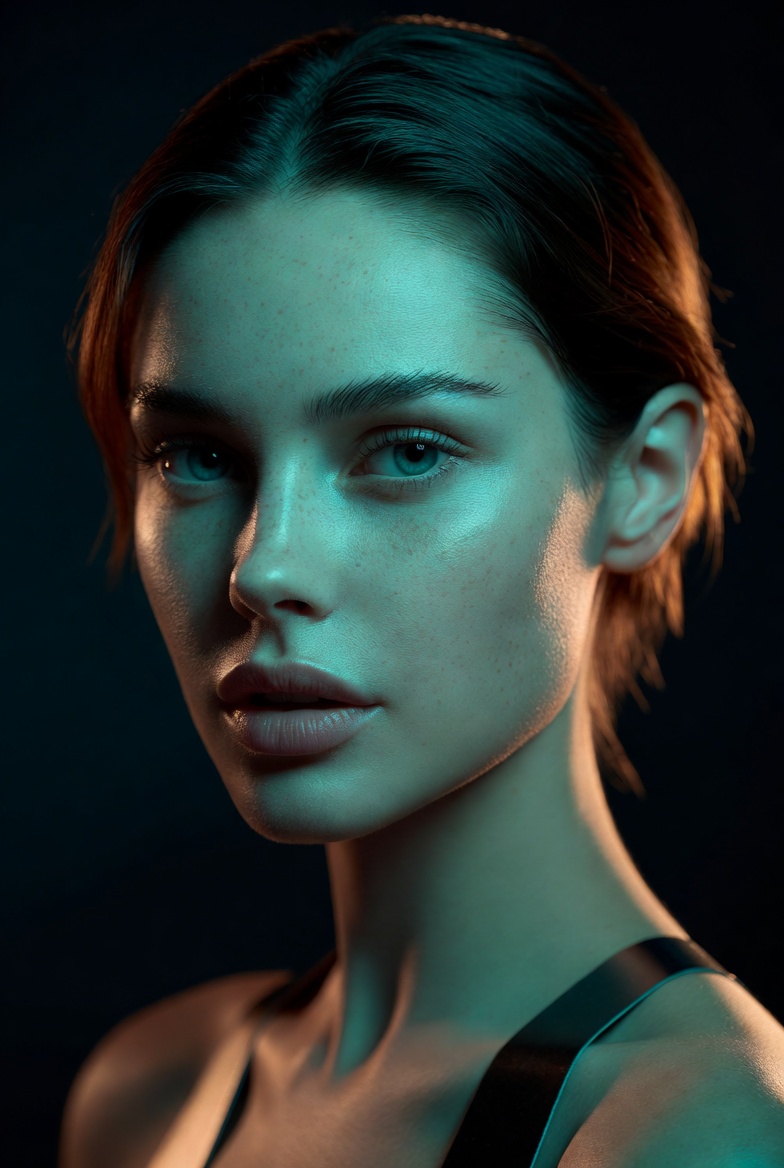
The prompt is effective because it defines a three-light logic that’s easy for AI to interpret: colored key, colored rim, and neutral fill. This prevents the common gel-lighting failure where the face becomes a single flat color with lost detail. The dark slate seamless background gives a neutral base so gels pop without bleeding into distracting scenery. “Teal gel key light from camera-left” establishes directionality, and “amber rim light from behind” creates clean edge separation, which reduces blending artifacts around hair and shoulders.
The realism cues are deliberately repeated. “Realistic skin texture,” “natural pores,” “controlled highlights,” and “soft roll-off” fight the plastic look and keep specular shine from turning into cartoon gloss. The “85mm lens look” supports flattering proportions, while “f/2.0” adds cinematic separation. Adding “subtle film grain” and “editorial color grading” helps unify the colored lighting into a cohesive final image, like a professionally color-corrected studio portrait.
Tips for Customization
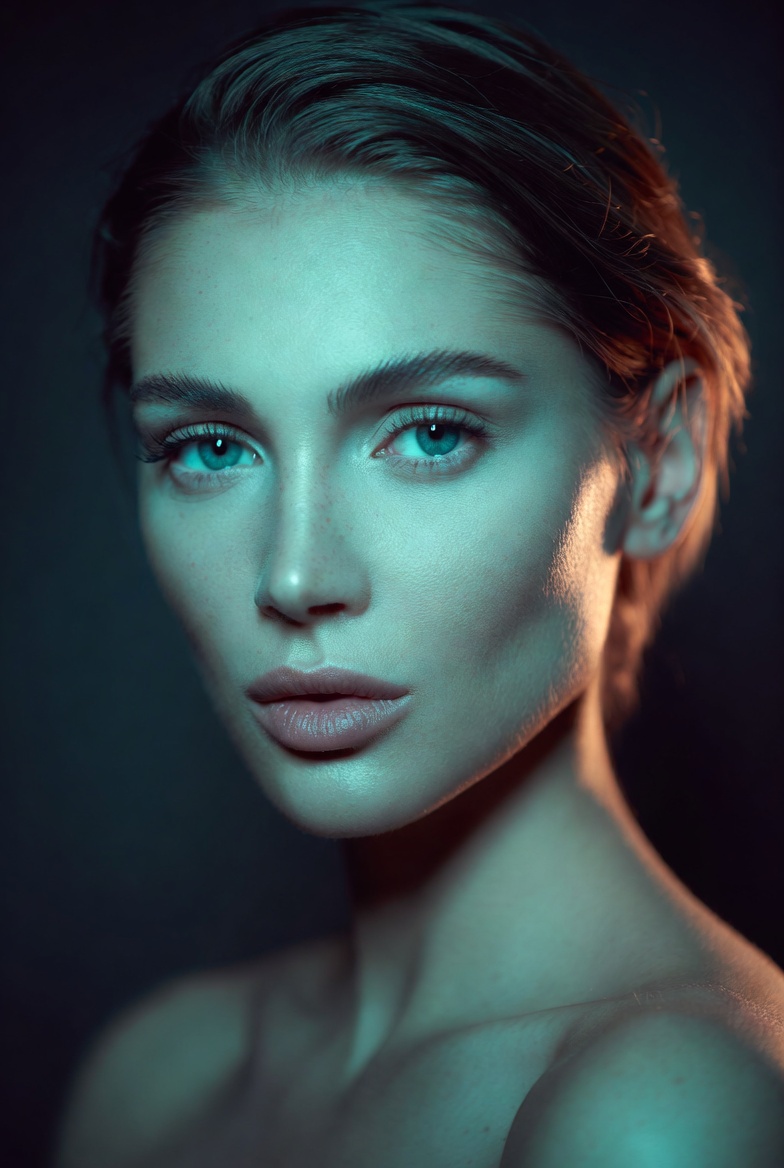
To customize, keep the lighting roles consistent and change only the gel colors or backdrop tone. Strong combos include “violet key + warm rim,” “cyan key + red rim,” or “green key + amber rim” each creates a different mood while staying controlled. If colors start to look too intense, add “muted gels, restrained saturation, natural skin tones preserved.” Wardrobe should remain simple: solid fabrics, matte finish, clean tailoring. Complex patterns often create artifacts under colored light.
For mood, steer the expression and posture: “quiet confidence,” “focused determination,” “calm composure,” or “friendly professionalism.” You can also shift the background from dark slate to “mid-gray gradient” for a brighter editorial feel. For composition, try “tight close-up” for intensity or “three-quarter portrait” for more fashion presence just keep the camera eye-level to avoid distortion. If you want a more cinematic feel, add “slight haze in studio” very lightly; too much haze can muddy the gels.
Common Issues & Fixes
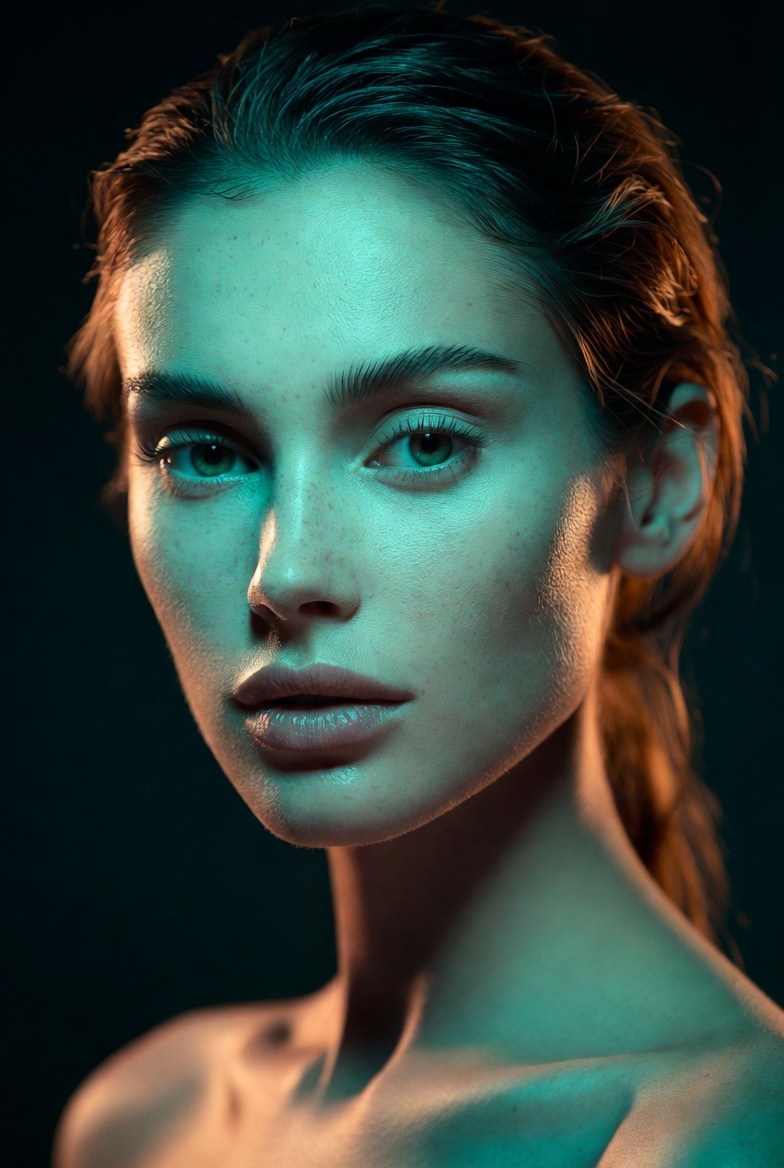
- Issue: Skin turns unnaturally teal or orange.
Fix: Add “neutral fill light preserving natural skin tones” and “controlled gel saturation.” - Issue: Rim light becomes too strong and halos the subject.
Fix: Use “subtle rim light, controlled edge highlight, no blown highlights.” - Issue: Face loses detail in shadow.
Fix: Increase “soft fill light” and include “preserved shadow detail.” - Issue: Background shifts into a busy scene.
Fix: Reinforce “seamless studio backdrop, uncluttered background, minimal set.” - Issue: Colors look muddy instead of clean.
Fix: Add “clean color separation, crisp gels, editorial grade with balanced contrast.”
Frequently Asked Questions
Q1: Do gel portraits work for realistic branding images?
Yes, especially for creative brands. Keep saturation restrained and preserve natural skin tones with neutral fill.
Q2: How can I make the colors subtler?
Use “muted gel lighting” and “restrained saturation,” and choose a lighter background like “mid-gray seamless.”
Q3: What’s the easiest way to generate a consistent series?
Keep the same lens, framing, backdrop, and lighting directions; only change wardrobe color accents or expression.